

This design you'll need to know hdc, hdc back post, magic circle, net stitch, dc, dtr crochet, shell
I hook to make it faster. Will not join but work in continuous round.
to begin: make a magic circle http://www.youtube.com/watch?v=WLuSVyKvoUg video tutorial here
10 hdc crochet into the circle,
row 2: do not join but place a stitch marker (I use a scrap of yarn as marker or stick a bobby pin). 2hdc the top of 1st st. 2hdc in the next stitch and all the way around for (20)
row 3: *1hdc, 2hdc in next st* repeat all around
Row 4 *1hdc, 1hdc in next st, 2hdc in next stitch* repeat all around
Row 5: * 1hdc, 1hdc in next st, 1hdc in next st, 2hdc in next st* repeat all the way around.
keep adding increase of 1hdc, 1hdc, 1hdc, 1hdc, 1hdc into next st, 2hdc in the next (see the pattern forming for increase) till the circle measure the circumference of the crown of the head size you want.
I made mine up to *1hdc, 1hdc, 1hdc, 1hdc, 1hdc, 2hdc* repeat
then still not joining but move your yarn maker and work a continuous round.
1Row6, 7 add increase
Row 8-9: hdc all the way around
Row 10 1hdc into the back of the next st. just the back not both st., repeat all the way around
Row 11: *1hdc into the next st chain 1, skip next st. 1hdc into the next chain.* repeat all around
Row 12: repeat row 11
Row 13-14: double crochet each st. around
Row 15: Double triple crochet (dtr) each st. around. wrap the yarn 3 times on your hook, you'll have 4 on the hook, insert into the next st, yo, pull up a yarn, yarn over pull through two hoop, yo, pull through two hoop, yo, pull through 2 more, repeat till you have one on the hook.
Row 16: 1hdc all around
Row 17: *sk a st, 1sc in the next, sk a st, 5hdc into next st* repeat all the way around.
where you made the dtr crochet loop ribbon or light weight scarf through evenly every 4 sts.
last part of the pattern was from http://www.headhuggers.org/patterns/cpatt18.htm


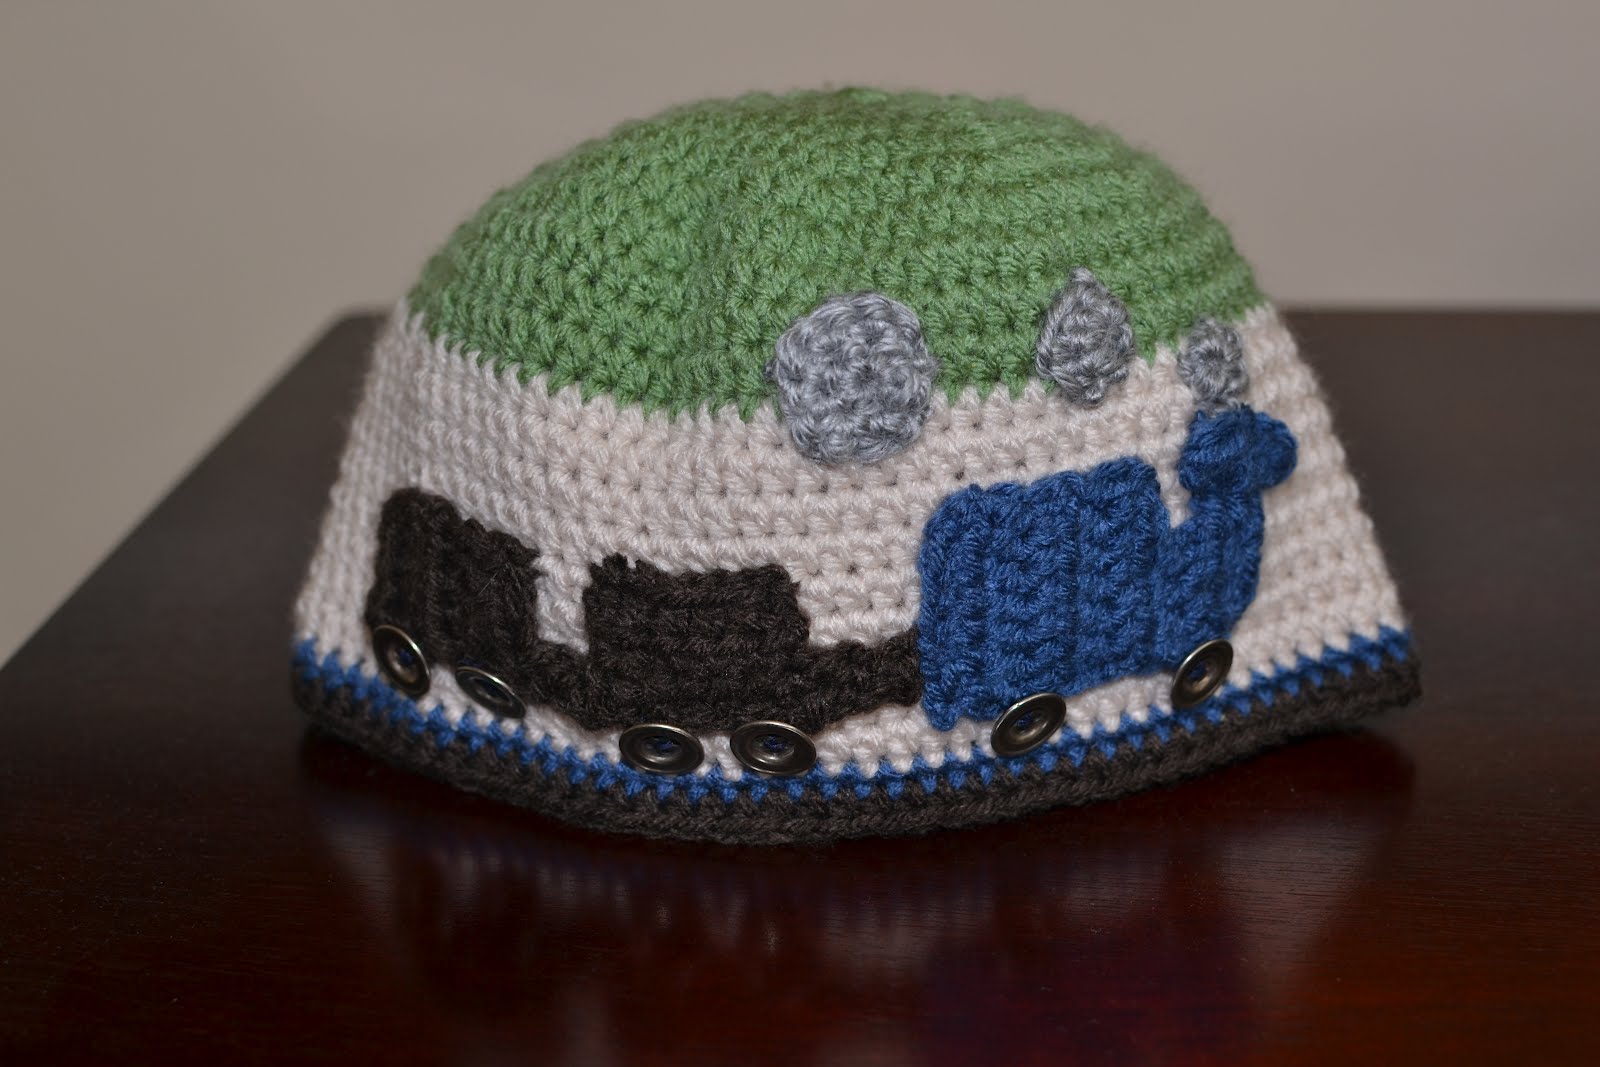


 on 123 on youtube. I just skip the tail part and started working a 6 hdc into a magic circle. Then I just follow the rest of the instruction on the video tutorial. Clare also provided written instruction. http://www.youtube.com/watch?v=SkQCpLk9xMA Yes, we're on first name basis now since I also follow her on Facebook. After I was done with the hat I added a ribbon with the printed word KISSES on there, like the chocolate kisses. I may go back and color in the words red for Valentines Day. I made one for each of my boys. **edit** To custom fit for different size head just measure the circumference of the crown of the head. Where the side start to go straight down. Work your increases up to that point only and continue with straight stitches till it measure down pass the ear a bit. At least I like mine below the ear a bit in case it shrinks in the wash.